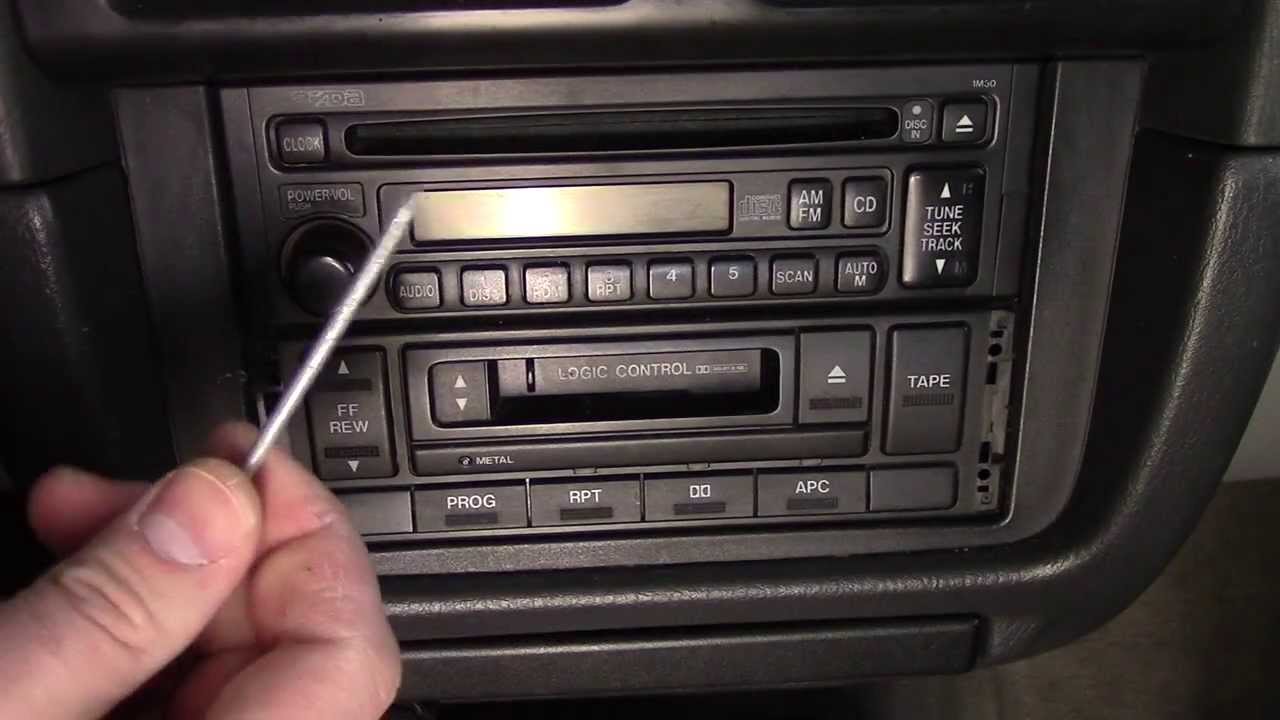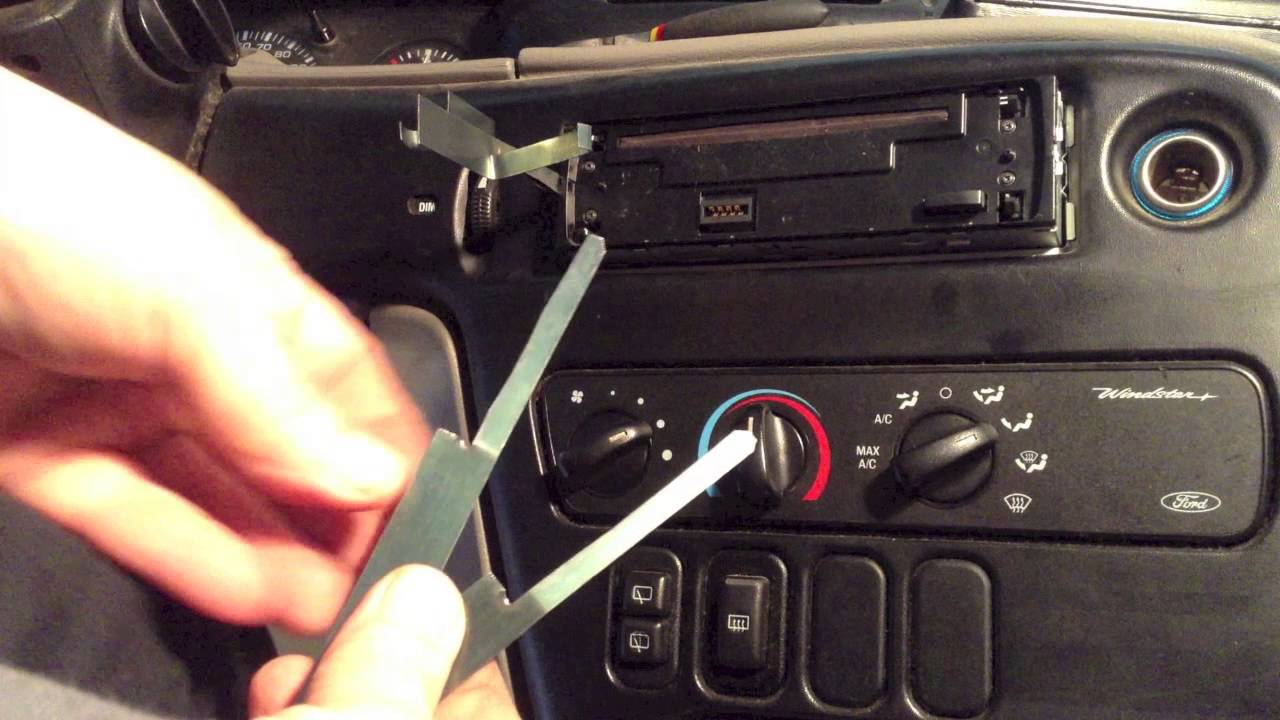
Removing a car stereo can be a daunting task, but it is an important step for those who wish to upgrade to a newer model, troubleshoot an issue with their current one or for other reasons. In this essay, we will explore the steps and best practices for safely and properly removing a car stereo. By following the proper steps and best practices outlined in this essay, car owners can remove their car stereo safely and correctly, without damaging their car or the stereo itself.
Preparing to Remove the Stereo
- Gathering necessary tools: Before removing the stereo, it is important to gather all the necessary tools such as screwdrivers, pliers, panel removal tools and wire cutters. These tools will be used to remove the trim or paneling around the stereo and detach it from its mounting bracket. It’s important to have the right tools for the job as using the wrong tools can lead to damage or breakage.
- Disconnecting the battery: Before working on the car, it’s crucial to disconnect the battery to prevent any electrical issues. This can be done by locating the negative battery terminal and removing the cable. This step is important as it prevents accidental short-circuiting while working on the car.
- Removing any necessary trim or paneling: Once the battery is disconnected, it’s time to remove any necessary trim or paneling that surround the stereo. This may vary depending on the make and model of your car, so it is important to consult your car’s manual or a professional before proceeding. Usually, this step requires the use of a panel removal tool or a screwdriver to carefully remove any clips, screws or fasteners holding the trim or paneling in place.

Removing the Stereo
- Detaching the stereo from its mounting bracket: Once the trim or paneling is removed, the stereo will be exposed. The next step is to detach the stereo from its mounting bracket. This can be done by carefully removing any screws, clips or fasteners that are holding the stereo in place. It’s important to take note of the location of these screws and clips so that you can easily reattach the new stereo in the future.
- Disconnecting any wiring or cables: Once the stereo is detached from its mounting bracket, the next step is to disconnect any wiring or cables that are connected to it. This may include power cables, speaker wires, and antenna cables. It’s important to be careful when disconnecting these wires and cables as they may be fragile or delicate.
It’s important to take note of how the wires and cables are connected and to be careful not to damage any of them. Some car stereos may have a wiring harness that connects the stereo to the car’s electrical system. Make sure to unplug this harness carefully and keep it safe.

After Removing the Stereo
- Installing a new stereo: Once the old stereo has been removed, the next step is to install a new one. This can be done by carefully connecting the new stereo to the wiring and cables that were disconnected in the previous step. Make sure to connect all the wires and cables to the correct terminals and plug in the harness if your car has one.
It’s also important to make sure that the new stereo is securely mounted to the bracket and that all screws, clips and fasteners are properly tightened.
- Properly disposing of the old stereo: Once the new stereo is installed, it’s important to properly dispose of the old stereo. Old car stereos may contain hazardous materials such as lead or mercury, which are dangerous to the environment. It’s important to find a local recycling center that accepts electronic waste, or check with the manufacturer of the stereo for proper disposal methods.
By following these steps, you will be able to safely and correctly install a new car stereo and properly dispose of the old one, ensuring that the process is done safely and correctly.
Conclusion
In conclusion, removing a car stereo can be a daunting task, but by following the proper steps and best practices outlined in this essay, car owners can remove their car stereo safely and correctly. It is important to gather all necessary tools, disconnect the battery, remove any trim or paneling, and to be careful when disconnecting any wiring or cables. Remember to properly dispose of the old stereo. Following these steps will ensure that the process of removing a car stereo is done safely, correctly and with minimal damage to the car or the stereo. Additionally, it’s important to keep in mind that removing a car stereo may void the warranty of the car, so it’s important to check the warranty before proceeding. It’s also highly recommended to consult the car manual or a professional mechanic for assistance if you’re not familiar with the process.
Furthermore, It’s important to note that some car stereos may require specific tools or techniques for removal. For example, some car stereos are connected to the car’s computer system, which requires additional steps to remove. Therefore, it’s always a good idea to research your specific car make and model beforehand.
In summary, removing a car stereo can be a challenging task, but by following the proper steps and best practices outlined in this essay, car owners can safely and correctly remove their car stereo. This can be done either for upgrading to a newer model, troubleshoot an issue with their current one or for other reasons. It is important to keep in mind that the process may void the warranty of the car and it’s recommended to consult the car manual or a professional before proceeding.

